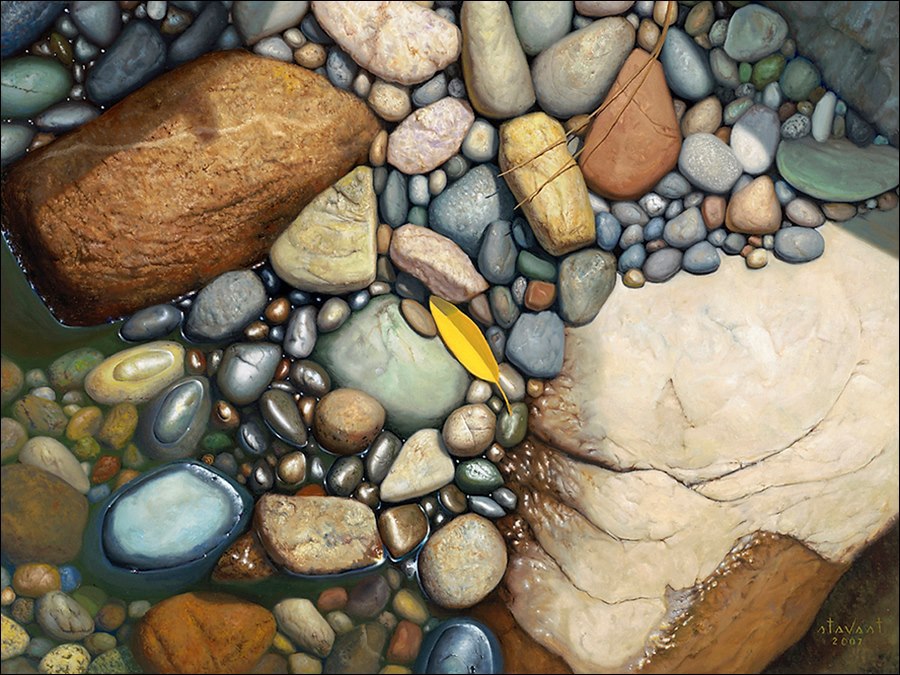
 Original Work

The source of this lesson came from T.L.C. You can follow the link to this site and learn how to draw a tulip as well!
Let's Sketch a Daffodil
Shapes are flat but forms are fat!
http://dawnsbrain.com/
These are techniques used since the Renaissance to create a realistic illusion of space and form.
“horizon line”, “vanishing point” and “orthogonal line”.
- Horizon Line: The line in a perspective drawing where the sky meets the ground. It also represents the viewer’s eye level. That is, the placement of the line on the picture plane depends on the vantage point of the artist. For example, if the artist is low to the ground, the horizon line is low on the picture plane. You can see the top of an object if it is below eye level, below the horizon line. If an object is above eye level, above the horizon line, you can not see its top.
- Vanishing Point: The point on the horizon line at which lines or edges that are parallel appear to converge.
- Orthogonal Line: Literally, a line which is at right angles to another. In linear perspective drawings, it is the line you draw from the corner of an object to the vanishing point. It establishes the illusion of a perpendicular line going into the distance. Orthogonal lines should always be drawn lightly at first. Usually, most of an orthogonal will be erased.
LINE
Call and Response
Action Poem
By C. Schell
 Vertical
Vertical
Stand up tall
Straight and proud
I'm vertical
Say it loud
I'm vertical!
I'm vertical!
I'm vertical!
 Horizontal
Horizontal
Stretch your arms
Like you're ready to fly
The ground is below
Above is the sky
Horizontal!
Horizontal!
Horizontal!
 Diagnal
Diagnal
Dip and Dive
Side to Side
Watch us Move
We're out of sight
Diagnal!
Diagnal!
Diagnal!
Vertical!
Horizontal
Diagnal!
That's My Line! Ya'
Daily Review
The Color
Song
By C. Schell and
Jenifer Coule

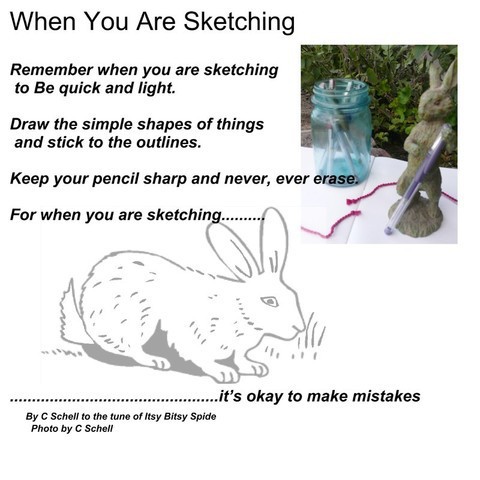
Show the position of the three flowers by lightly sketching ovals. In the center of each one, draw the flower's cup using a U shape and a circle. Sketch the position of stems and leaves with slanting curved lines.
 district.montgomery.kyschools.us
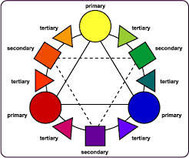
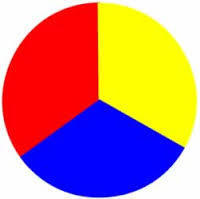
Primary Colors
The Primary Colors are
Red, yellow blue,
Red, yellow blue
Red, yellow blue
The Primary Colors are red, yellow blue,
The Primary Hues
 district.montgomery.kyschools.us
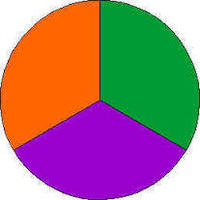
Secondary Colors
What do you get when you mix
Red and yellow? ORANGE
Red and yellow? ORANGE
Red and yellow? ORANGE
What do you get when you mix
Red and yellow? ORANGE
A Secondary Color!
What do you get when you mix
Yellow and blue? GREEN!
Yellow and blue? GREEN!
Yellow and blue? GREEN!
What do you get when you mix
Yellow and blue? GREEN!
A Secondary Color!
What do you get when you mix
Red and blue? Purple!
Red and blue? Purple!
Red and blue? Purple!
What do you get when you mix
Red and blue? Purple!
A Secondary Color
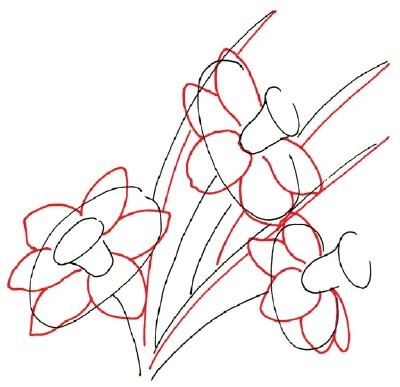
Using the ovals as a guide, draw oval petals using irregularly curved lines. Draw the second side of each leaf with a slanting, curved line that meets the first line at the top.
Don't worry if your lines overlap the flowers. These lines are guidelines to follow in drawing your final lines.
Show that the petals curve upward by drawing a second, irregularly curving line inside the first one. At the bottom of each cup, draw a wiggly line to show the petal overlapping the cup.
Give each cup a ruffled edge by drawing a wiggly oval.
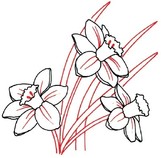
Draw two tiny teardrop shapes in each cup for the flower's center. To show grooves in the petals, lightly draw two curving lines down the centers.
Redraw the lines for the stems and leaves, making sure your lines don't go into the flowers.
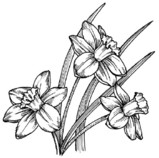
Shade each leaf using long, curving lines parallel to the sides of the leaf. Shade one side of each stem using short crosswise lines. Shade the petals and cups with lines of varying lengths.

 We have had 20,000 visitors as of 1/1/2020
Artful Teaching
Mrs. Schellenberg & Young Artists
Ralph Waldo Emerson's Poem: Success- to leave the world a bit better, whether by a healthy child, a garden patch or a redeemed social condition; To know even one life breathed easier because of you.
Thank you AT&T
We used the wiring for our artful galimotos
Duncan Ceramics, Thank you! With your help and friends of the Fresno Art Museum 's support, every child created a tie-dyed T Shirt. You made our world brighter!
Fresno County Office of Education, we thank You for the opportunity to create with clay!
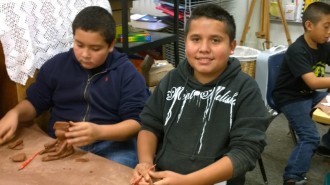
Thank you Mr. Bullwinkle and Fresno County Office of Education for awarding us with a grant to purchase a kiln and clay supplies. We are so happy and grateful!
Love Mrs. Schellenberg & Young Imagineers